Buy finished pillows when you want immediate geometric, floral, stripe, or damask impact.

Throw pillows for real rooms
Shop finished decorative pillows first, or use the DIY tools below to choose pillow size, print patterns, calculate fabric yardage, place a zipper, and make custom pillows that fit your sofa, bed, bench, or chair.
Choose the right route
This keeps the page useful for shoppers who want a ready-made accent and makers who need fabric, dimensions, and construction guidance.
Buy finished pillows when you want immediate geometric, floral, stripe, or damask impact.
Use rust, gold, brown, beige, and cream accents to make plain seating feel layered.
DIY is best for lumbar pillows, oversized sofas, bed pillows, benches, and coordinated sets.
Shop pillow fabric when the accent needs to match upholstery, welt, cushions, or curtains.
Featured throw pillows
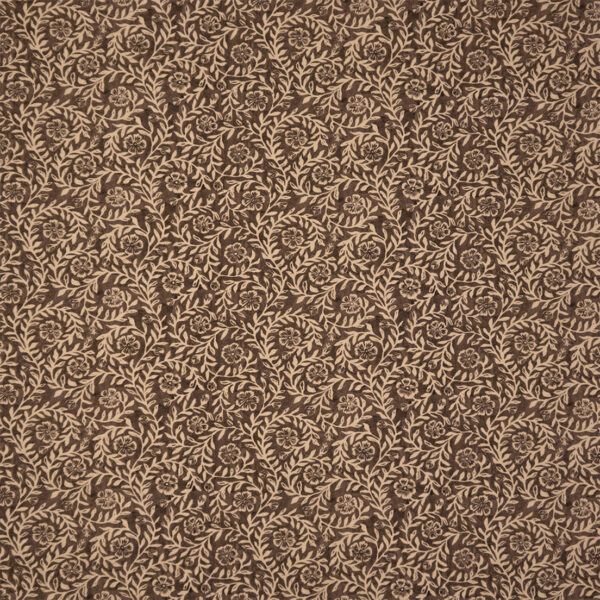
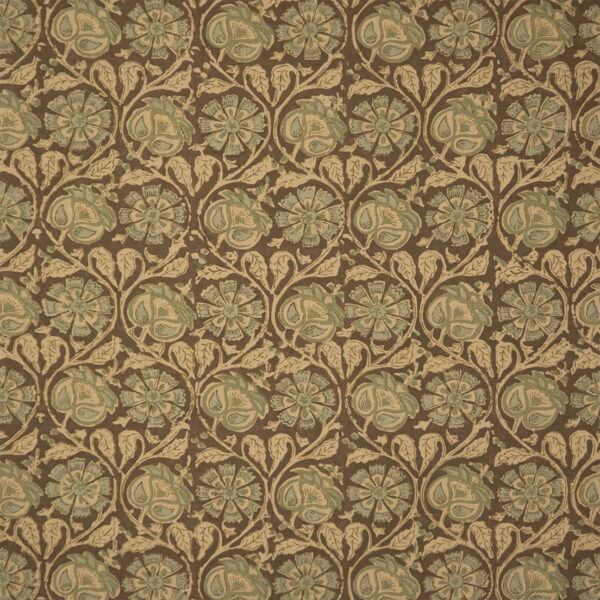
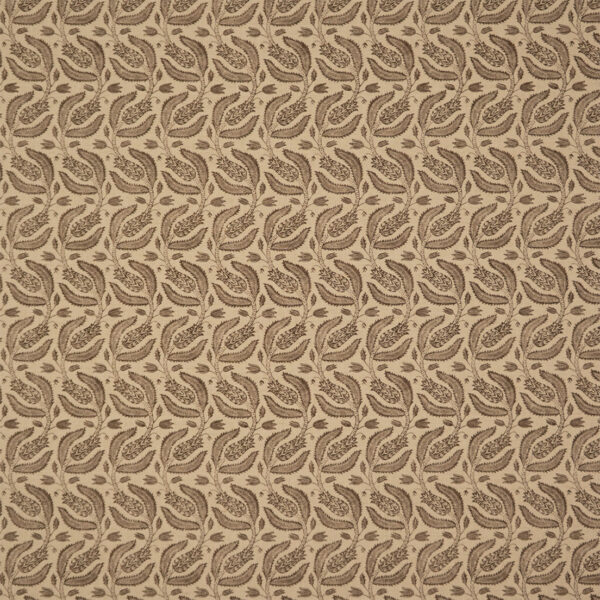
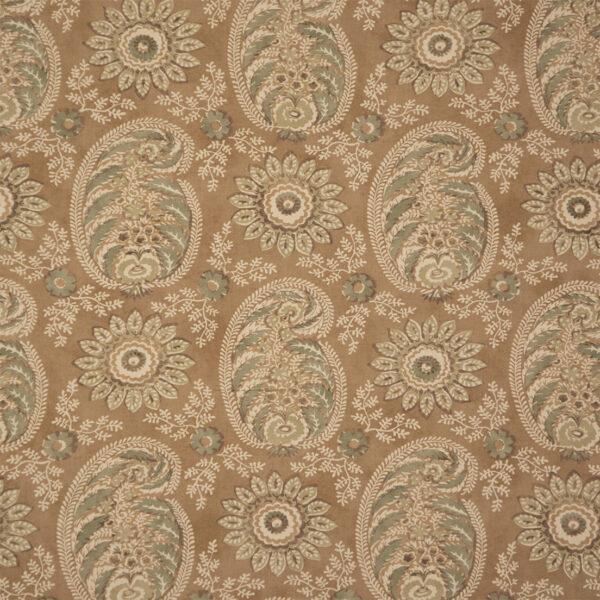
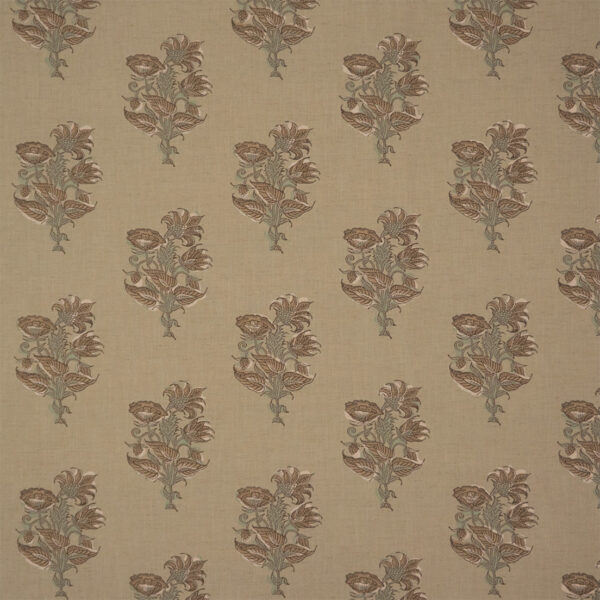
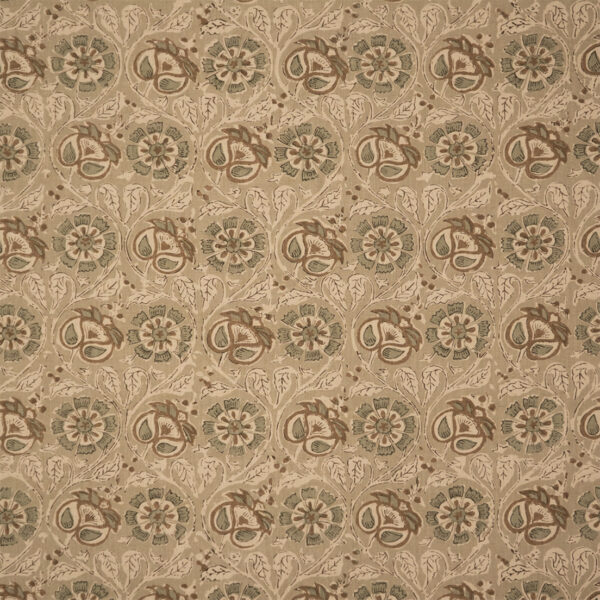
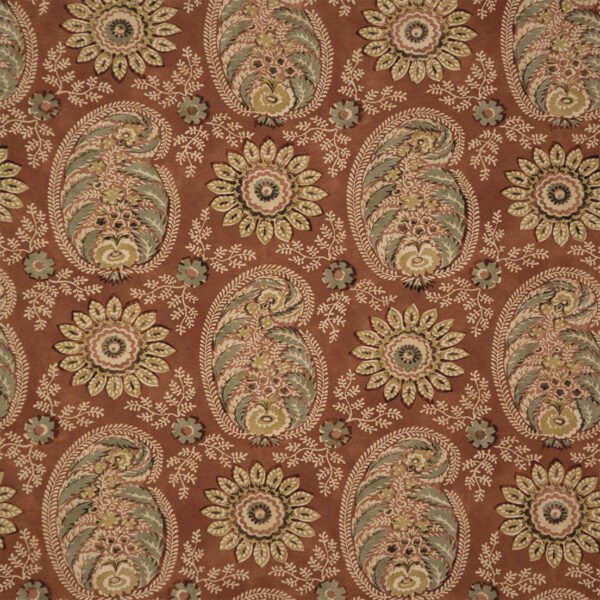
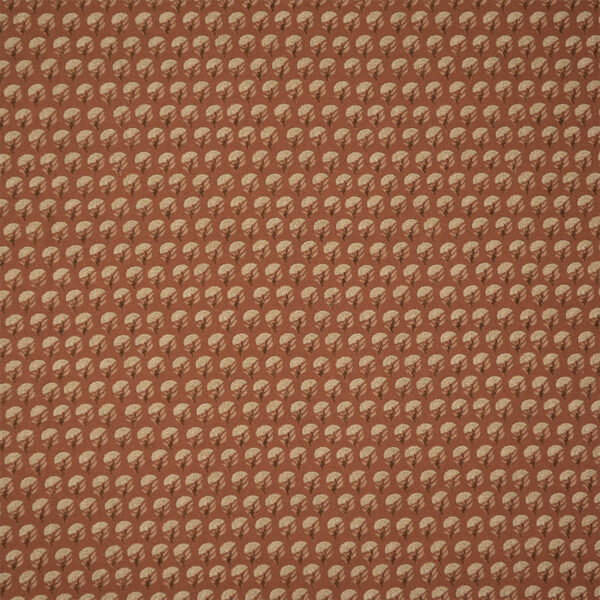
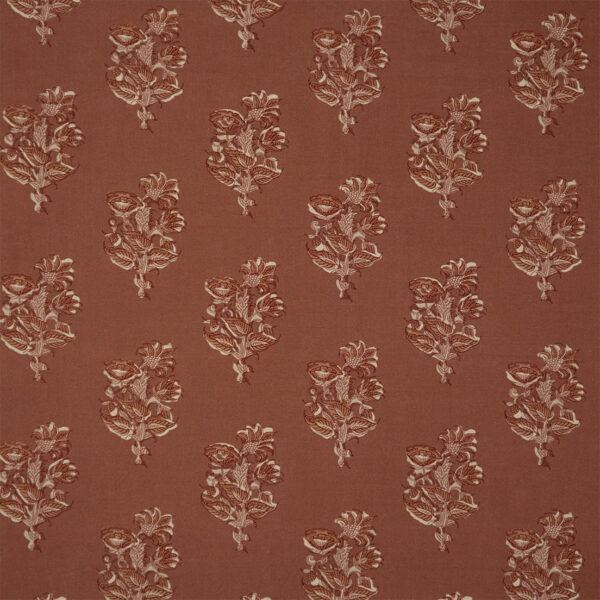
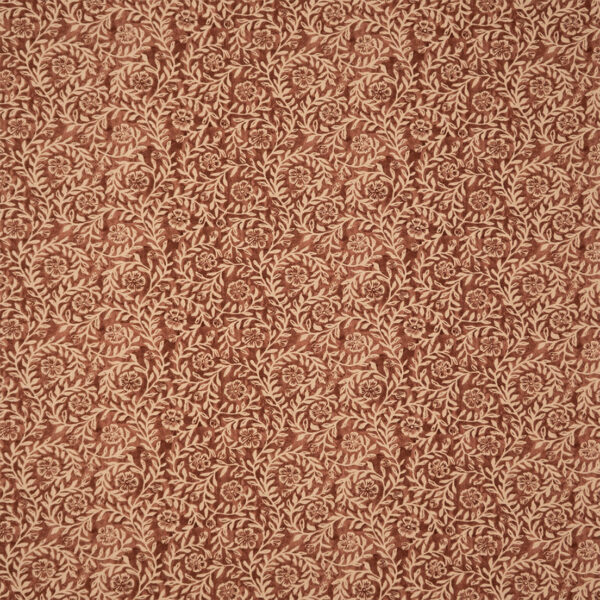
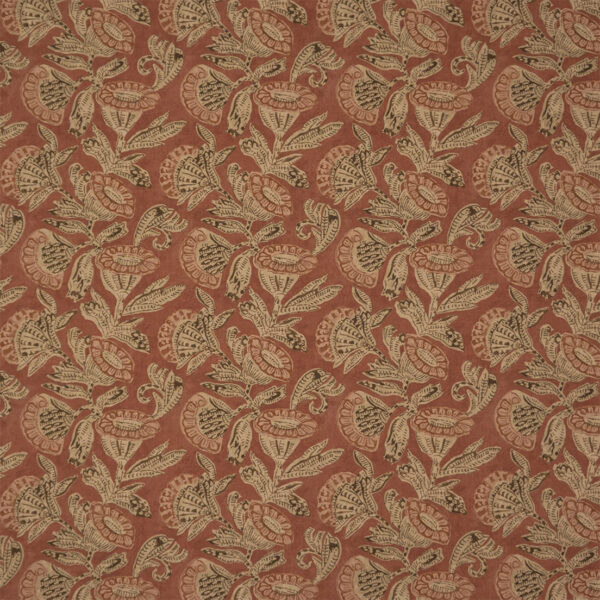
These live products are ready-made throw pillows. If you need a different size or matching fabric, continue to the DIY section below.
DIY throw pillows
Use these tools before ordering yardage or cutting fabric. They are built for common square pillows, lumbar pillows, and knife-edge zipper pillows.
Choose a finished pillow size and seam allowance to get cut-panel dimensions.
Estimate fabric yardage for pillows before ordering. Add extra for pattern matching, directional fabric, or large repeats.
Tip: If the fabric has a clear top/bottom, nap, stripe, or large repeat, order extra and cut every pillow front in the same direction.
Printable guide
This is a branded printable reference guide, not an actual-size template. It includes measurements beside the diagrams, sewing steps, zipper guidance, yardage planning, washing tips, and shrinkage warnings so customers can keep it for future pillow projects.

Best Upholstery Fabric printable
Designed to print cleanly on A4 or Letter paper. Use it as a project reference while measuring and cutting fabric with a ruler or yardstick.
How to make pillows
This order works for most square and lumbar throw pillows with an invisible or covered zipper.
Confirm hand, color, and pattern scale with a sample first.
Cut two panels using finished size plus seam allowance on every side.
Baste the zipper seam, press it open, then install the zipper centered on the back/bottom edge.
Open the zipper halfway, sew the other sides, clip corners, turn, and press.
Use a slightly larger insert for a full pillow and work corners out gently.
Sewing tips
For a fuller look, choose an insert 1–2 inches larger than the finished pillow cover.
Center large motifs on pillow fronts and keep stripes square to the cut edge.
Serge, zigzag, or finish edges before assembly if the fabric frays.
Place the zipper on the bottom/back seam and keep the pull inside the seam line.
Cut velvet and directional textures the same way on every pillow.
Add reserve yardage for mistakes, repeat matching, welt, and future repairs.
Washing, care, and shrinkage
Upholstery and decorative pillow fabrics do not all behave like apparel cotton. Fiber content, backing, finish, dye, and construction can change how a pillow cover reacts to water, heat, agitation, and detergent.
Wash, dry, and press a sample or scrap the same way you plan to clean the finished cover. Check shrinkage, color bleed, texture change, backing separation, and fraying.
If the fabric is washable and the pillow cover will be laundered later, pre-wash the fabric before cutting. Do not pre-wash fabrics with special backing, velvet pile, leather look, vinyl, or dry-clean-only finishes unless the product notes allow it.
Hot water, high dryer heat, and steam can shrink fibers, distort seams, flatten texture, or change pile direction. Air dry flat when possible and press from the back with a press cloth.
For finished throw pillows, remove the insert if possible, blot spills quickly, and spot clean with mild soap on a hidden area before treating the visible face.
Close zippers before washing removable covers. Do not wash feather/down or specialty inserts unless their care label says it is safe.
Save the product care details with the pillow pattern or zipper checklist so you know whether the finished cover should be spot cleaned, hand washed, machine washed, or dry cleaned.
Custom pillow path
Use the pillow and cushion fabric catalog when you need custom sizing, matching welt, bench cushions, boxed cushions, or coordinated multi-pillow sets. Check product care notes before cutting washable covers.